Start by identifying the reference photo you’d like to use for your painting. I try to use an image that’s about the size of my paper choice.
Choose your paper size. For this painting below, I used a pre-cut Strathmore 140 pounds cold press 8×10. I use painter’s tape to create a clean white edge and to secure my paper to a clipboard. I chose the vertical page orientation for this painting.
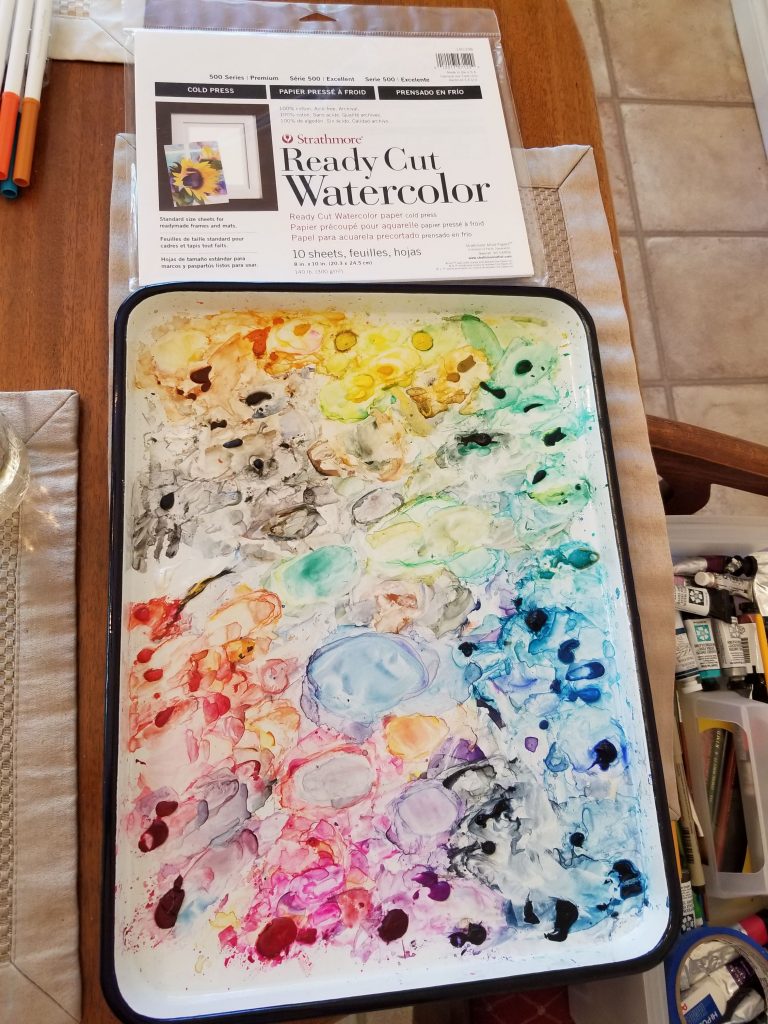
Prepare your work space. I use a jar of clean cold water. My palette is a butcher’s tray with my paint around the edges and my color combinations in the middle. I’ve used this for over a year and never wiped it. I just continue to re-wet what I need and mix any new color in an open space or one that’s a similar color. My brushes and paints are kept in an ArtBin for easy transport. I typically paint at my dining room table with light from windows and a chandelier plus a desk lamp if needed.
I use a simple mechanical #2 pencil to lightly draw my subject. I draw free hand without tracing usually but tracing can also be done especially for large pieces.
Once you have drawn your subject and the areas of dark/light that break up your imagine, it’s time to paint!
Wet into wet. I usually use a wet on wet technique for my backgrounds with a lot of bleed of the wet paint into the already wet areas. Sometimes I use a mask (liquid frisket) but usually I just apply water around my subject, careful to stay on the lines.
Once my paper is thoroughly wet, I use a large round brush (Princeton #16 round in this case) to add paint to my background. For this I am using turquoise and french ultramarine. I get the dried paint pretty wet but then make sure I have a good amount of paint on my brush. Then I begin to outline the subject with the thickest paint at the line as it bleeds out onto the wet paper.
I also added some green and darker blue to the other areas of the background (Prussian blue, indigo, . You can continue to gradually darken the background by adding more paint; however, you may also muddy the paint or if it dries, it could create lines and add shapes (unfortunately that’s what happened to this one (image 10).
Let this paint dry completely before working on the subject(s).
I went to far and didn’t stop so it lost it’s unique bleed look. I will try again!